There are various ways to attach a file or list of files to your article. My preferred way is to use the excellent upm_file plugin along with its sister upm_file_popper because it makes the process of adding a file very easy, but there are other ways.
Here is a list of the plugins we’ll take a look at in this article:
- upm_file (for associating a file or files with an article)
- upm_file_popper (pop up window in the Write tab, allows you to select the file
- srh_file_icon (display an icon of the file type next to your download file link)
- rah_repeat (split and repeat a value for output)
- ebl_upload (commercial plugin for easy multiple uploads of files and images)
The TXP Files tab
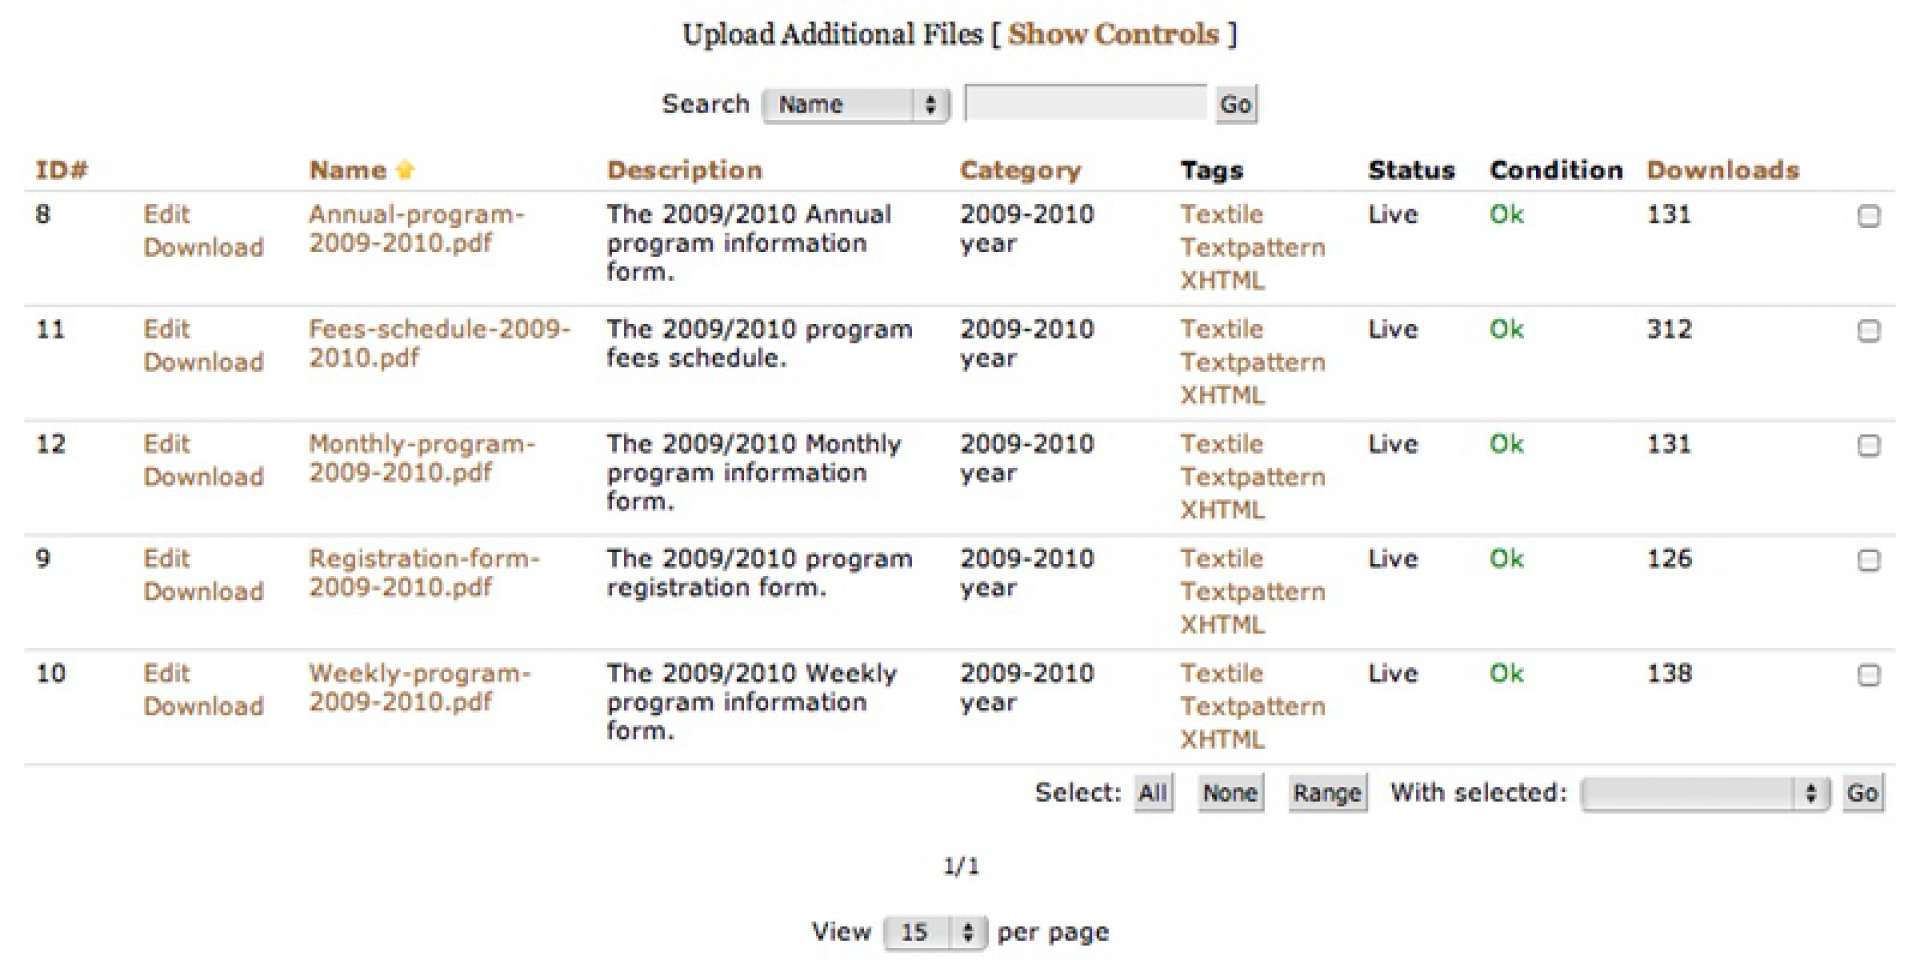
In your Files tab, you may upload files of any type which are subsequently stored in the /files folder in your root TXP install. It is easy to edit the file details (category, description and timestamp) and you can overwrite the file should you need to.
Getting started
We’ll look at 4 methods of attaching a file to your article:
- Using the upm_ plugins
- Using just a custom_field and TXP tags
- Using a custom_field with rah_repeat
- Using the file download tag at the end of an article
First up is adding your files via the Files tab. If you would like to add only one file at a time you will be fine with TXP’s native functionality, but if you need to add multiple files take a look at the excellent ebl_upload plugin.
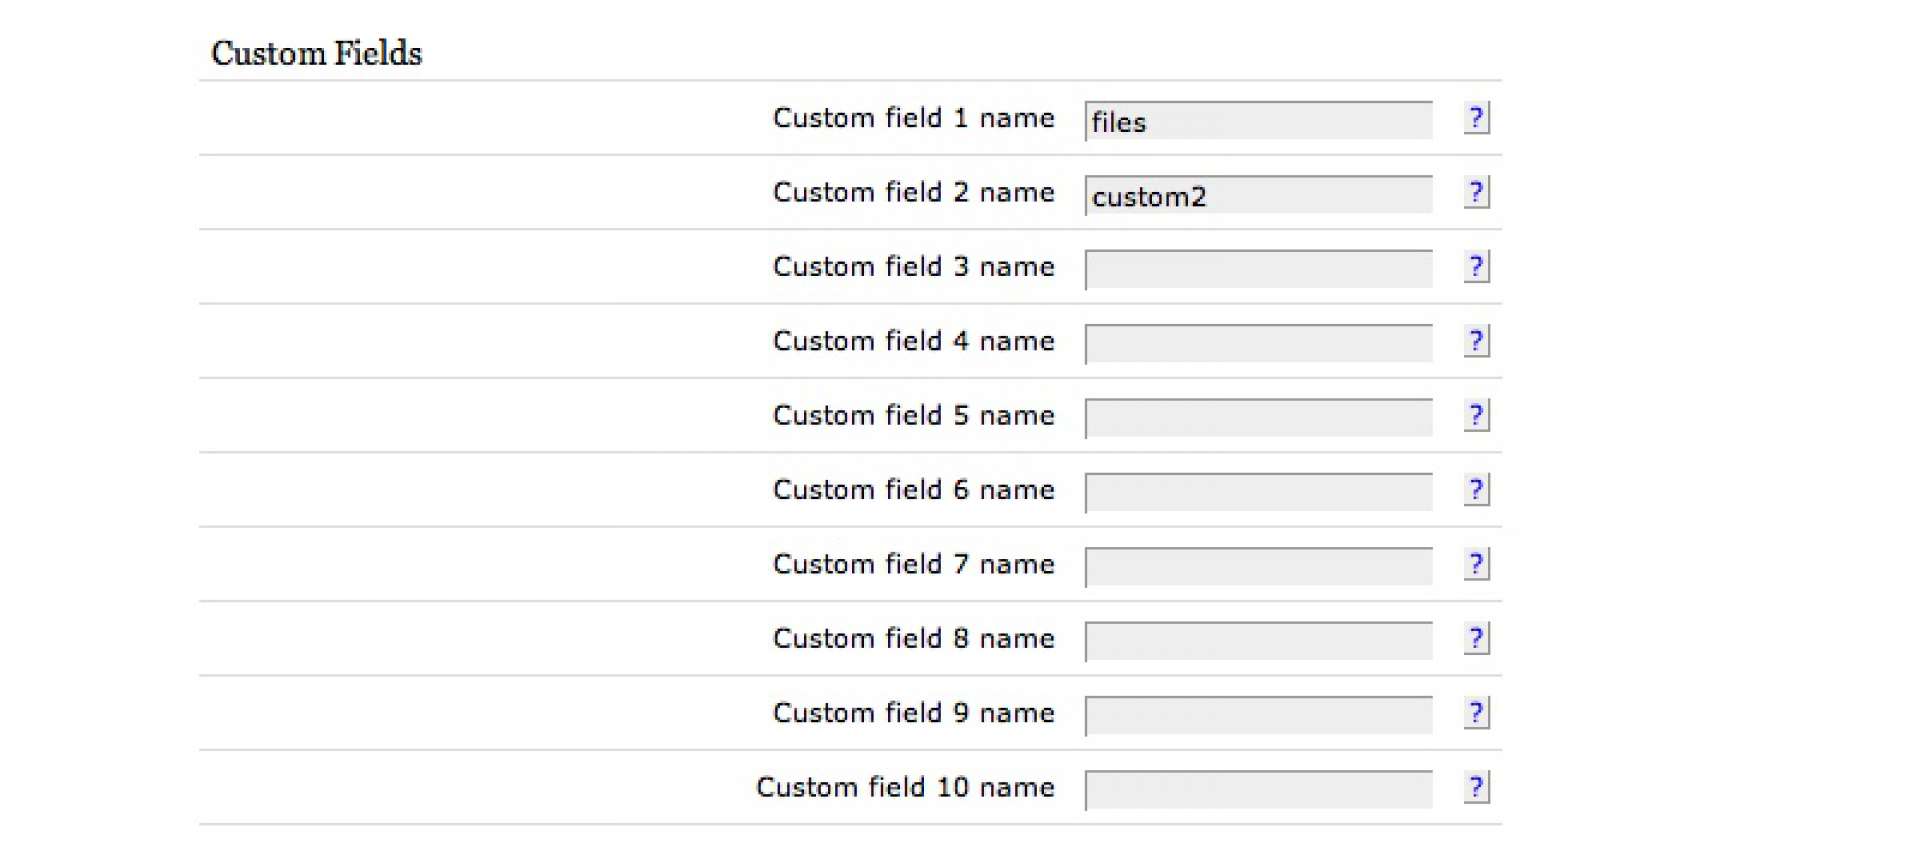
Set the custom field name
Whichever method you prefer, you will need to use a custom field to store the file #id number. By default TXP includes two custom fields with pre-filled titles – custom1 and custom2. Change the first custom field (Preferences > Advanced) to a name of your choice – we will use files.
Using the upm_file method
Assuming you have installed and activated upm_file and upm_file_popper and set the custom field name (you’ll need to visit Extensions to set the custom field name for upm_file), you are good to go. Upload your file and save it in your category of choice (not necessary but good practice if you have many files).
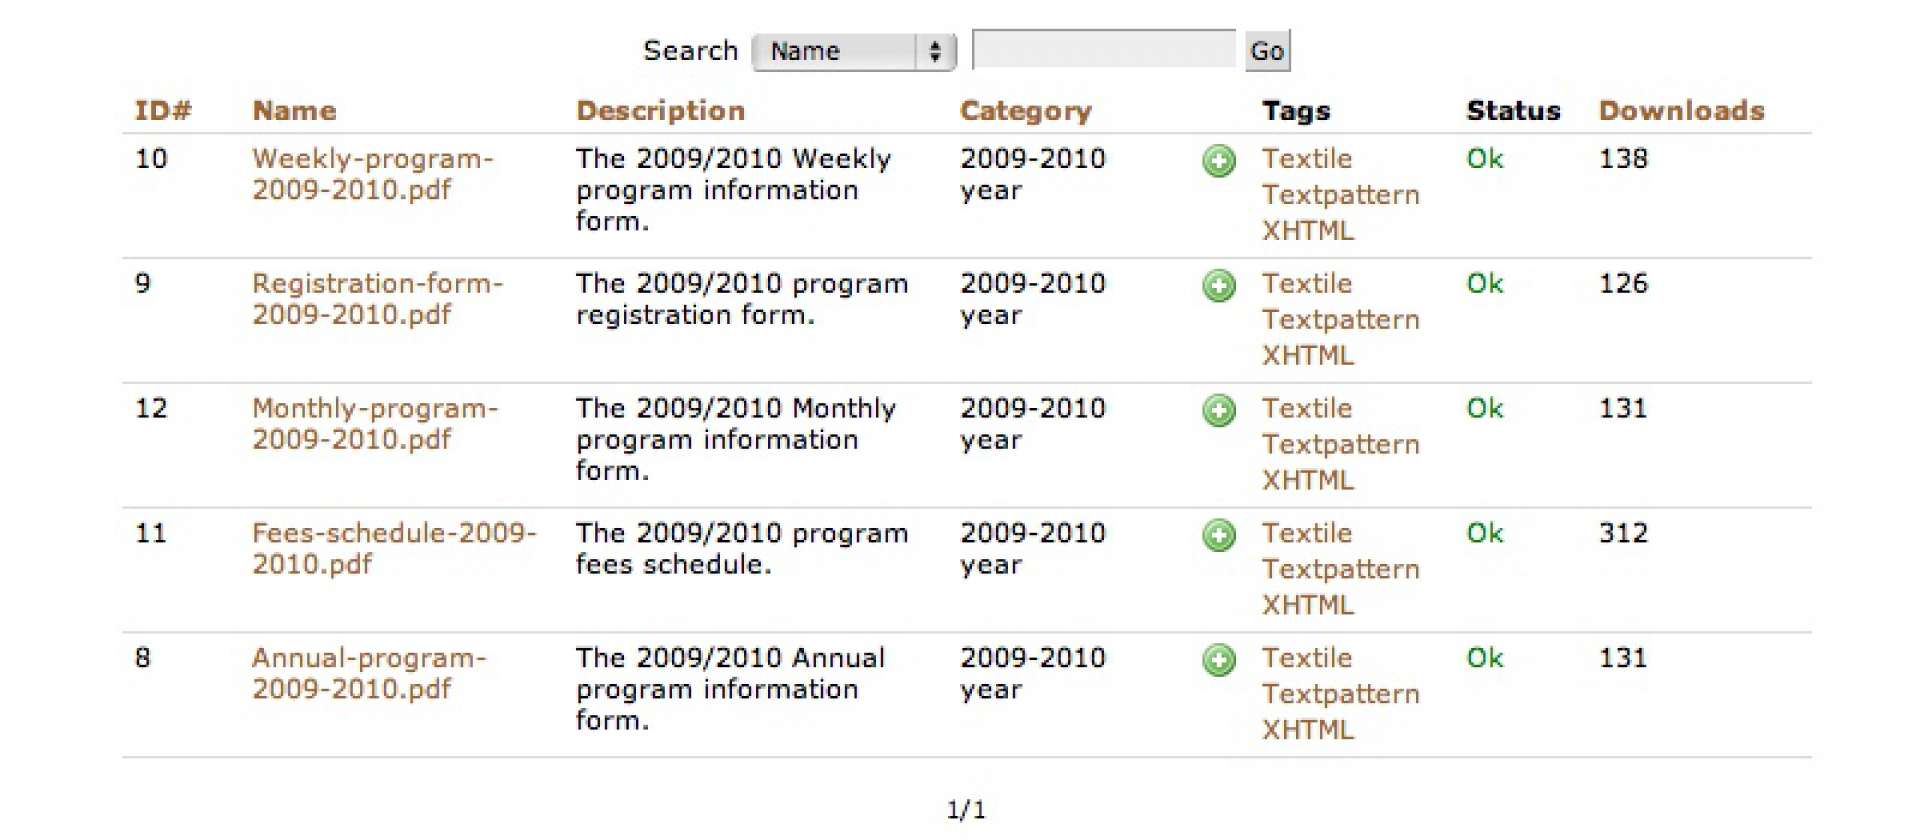
Visit the Write and you should see an Attach file link to the left of the Title field. Click on the link and a pop up window opens with a list of your files. (If you see an error message, close the window and visit your Files tab then select a value for the View … per page. Then go back to your article.
To attach a file to your article, choose the plus sign from the upm_file_popper window. What this does is assign the #id number to the files custom field. To see this, open “Advanced Options” and you will see the number in the field. The plugin makes it easy to add many files to the article, try it and you will see a comma separated list of file #ids.
Of course, you can also add the #id number manually in the field. To see the files on your page, you still have a little work. Here is some code to get you started:
<h2>File downloads:</h2>
<txp:upm_article_file_list form="files" />
Place the above in your page template where you want your files to appear. The upm_article_file_list is a tag designed to output the files attached to an article. Note the form="files" attribute – this processes the files. Here is the code from the files form:
<div class="files">
<h3><txp:file_download_name /></h3>
<p><txp:srh_file_icon displaytype="image" /> Download: <txp:file_download_link><txp:file_download_name />
</txp:file_download_link> File size: <txp:file_download_size format="auto" decimals="2" /></p>
<p><txp:file_download_description /></p>
</div>
There are many native TXP file tags to take advantage of. The srh_file_icon displays a nice icon next to your file download link.
Using the custom field with TXP tags method
If you prefer not to use a plugin, you can use TXP’s in-built tags with a custom field. You will need to name the custom field files and enter the #id of the file into the files field under Advanced Options in the Write tab.
Once this is done, you can display the file with the following which should be placed in your page template. Customise the output of the file using the files form.
<txp:article>
<h2><txp:title /></h2>
<txp:body />
<txp:file_download id='<txp:custom_field name="files" />' />
</txp:article>
Using a custom_field with rah_repeat method
This is similar to the other methods, except that the rah_repeat plugin splits and repeats the values. It could be used as follows:
<txp:article>
<h2><txp:title /></h2>
<txp:body />
<txp:rah_repeat value='<txp:custom_field name="files" />'>
	<txp:file_download id='<txp:rah_repeat_value />' />
</txp:rah_repeat>
</txp:article>
Assuming you had the same files form as earlier, you would end up with a list of files as in the upm_file example.
Using the file download tag method
This is a very simple way of displaying your files. It is basically the same as the custom field with TXP tags method, except that here we are retrieving a file for display that is not actually attached to the article. Here is some code for your page template:
<txp:article>
<h2><txp:title /></h2>
<txp:body />
<txp:file_download id="1" />
</txp:article>
This method works if you want to display a file for download at the end of several articles, or just one article like so:
<txp:if_article_id id="33">
<txp:article>
<h2><txp:title /></h2>
<txp:body />
<txp:file_download id="1" />
</txp:article>
</txp:if_article_id>
Hope this tutorial is helpful. If you have any comments or a different method, please share by posting a comment. Thanks!
Just came across another plugin which is not listed on Textpattern Resources – arc_article_file.
One more method for attaching and outputting files.